
I think I may fit the criteria for a basic fall girl. I realized this recently while excitedly purchasing a seasonal caramel apple tea and babbling endlessly about the brisk autumn air and oversized sweaters.
Witnesses have confirmed I appeared to be wearing leggings and a puffy faux-fur lined vest at the time.
It was, then, no surprise that the notorious pumpkin spice essentially took over my entire life and has continued well into the winter, which brings us now to this fine recipe featuring all the seasonal elements you JUST MIGHT EXPECT FROM ME. You can take the girl out of the fall, but you can’t take the fall out of the girl.
But of course, with some extra credit: grain free, sugar free, low carb, easily made dairy free, with healthy fats and proteins from both almond flour and almond butter!
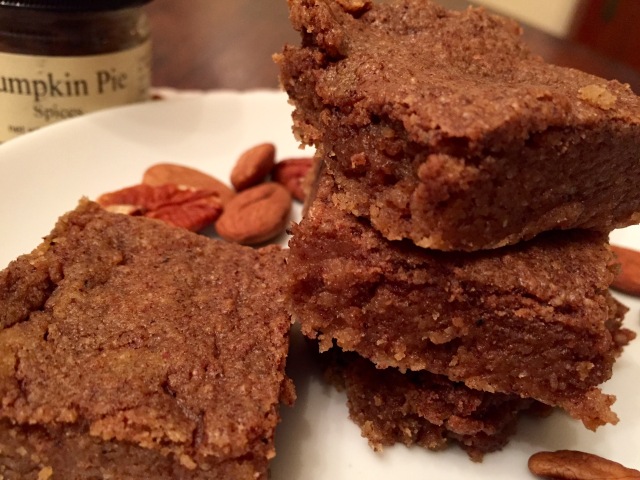
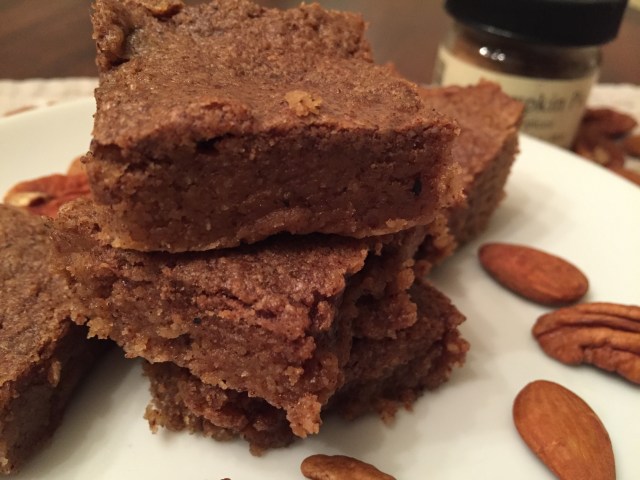
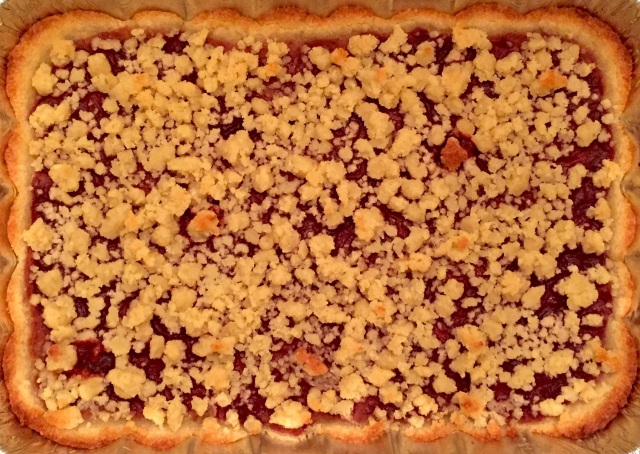
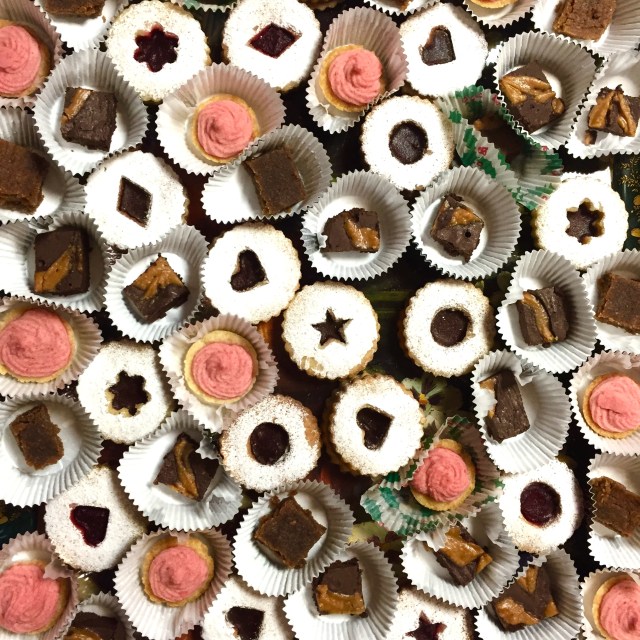
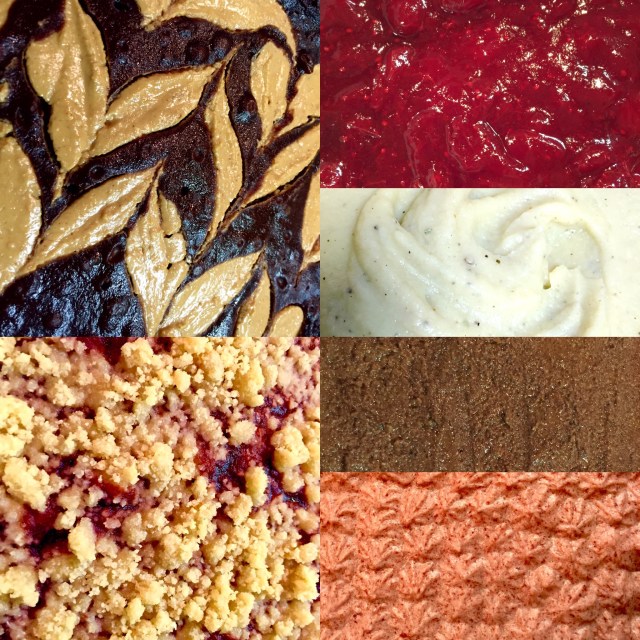
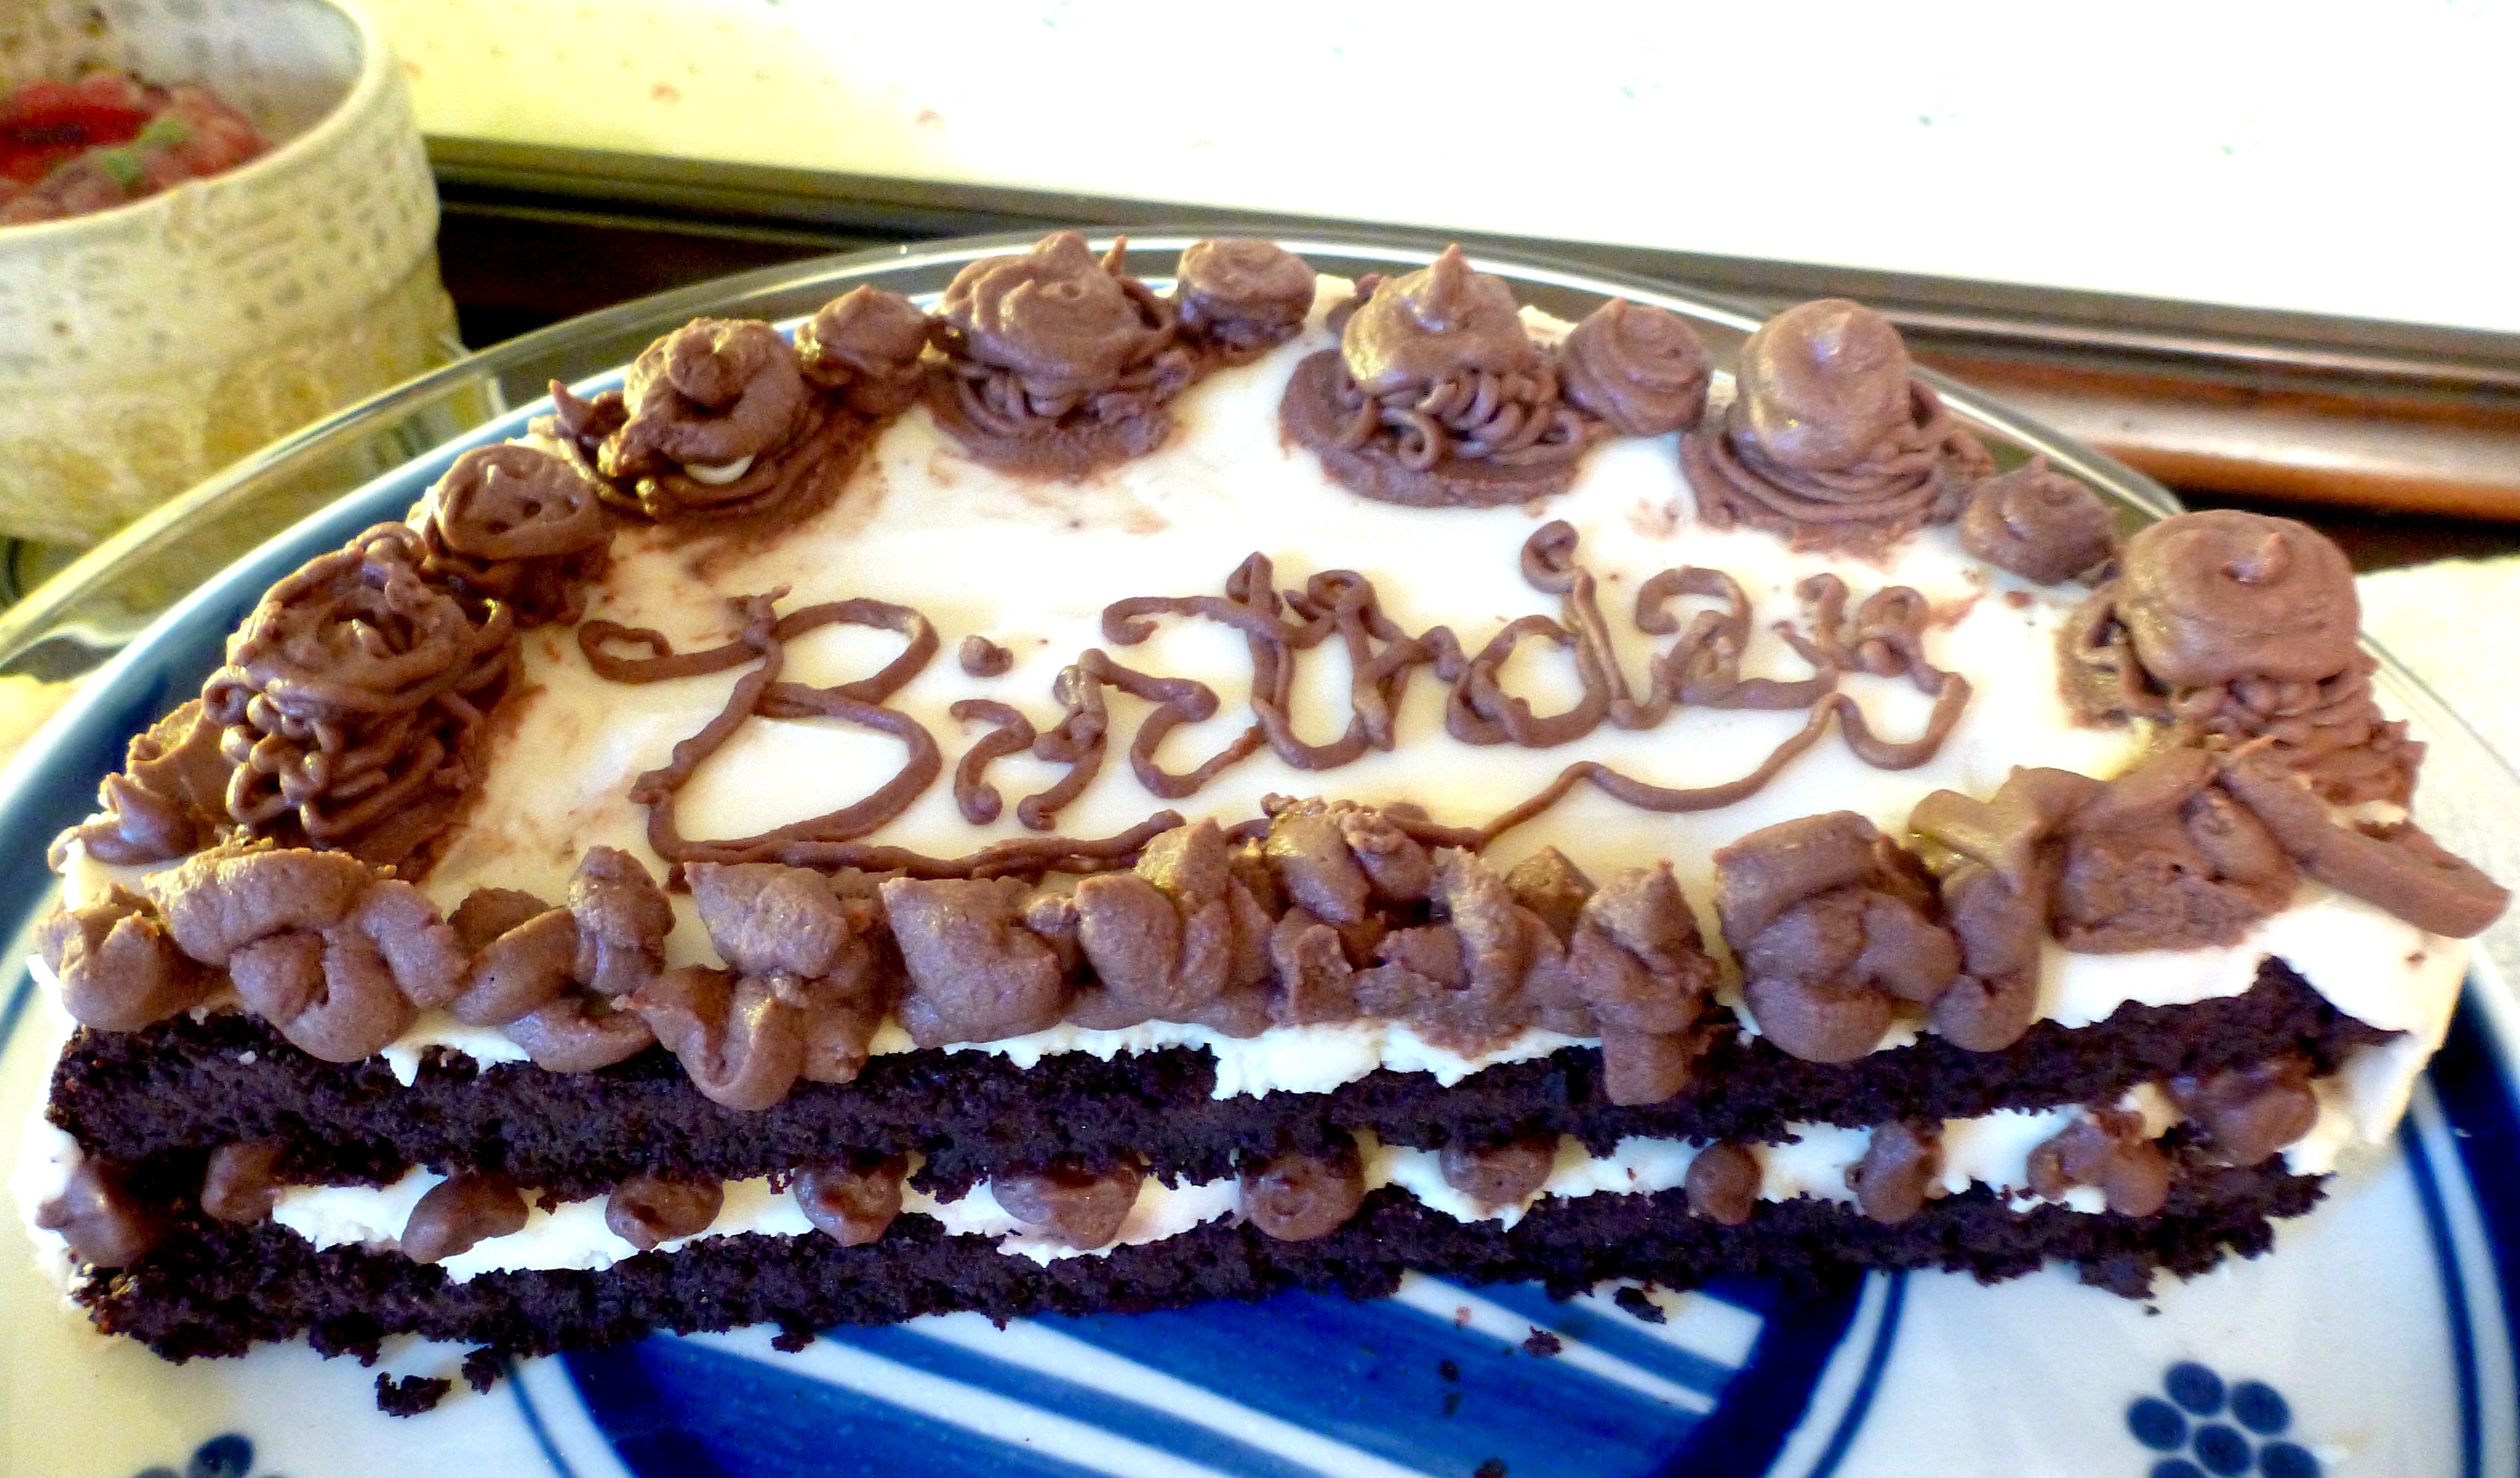
What we got here is some dense, gooey, butterscotch-y blondies featuring notes of cinnamon, ginger, and nutmeg – I regret nothing!! And actually, go make this. You probably won’t regret anything either.
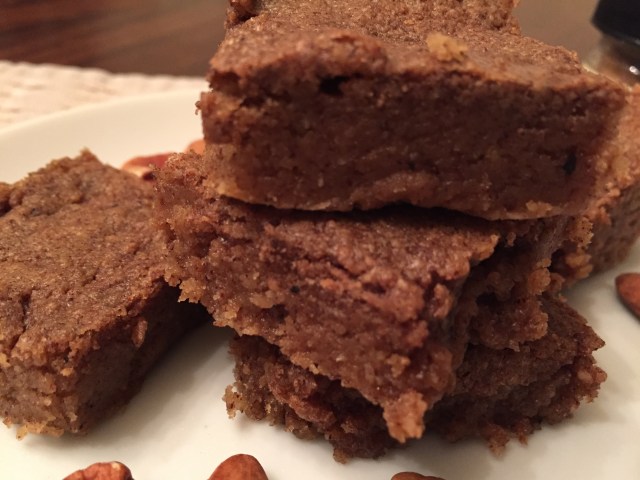
Pumpkin Spice Butterscotch Blondies (Low carb, sugar free, gluten free, dairy free)
Recipe adapted from All Day I Dream About Food
Yields: around 30 squares
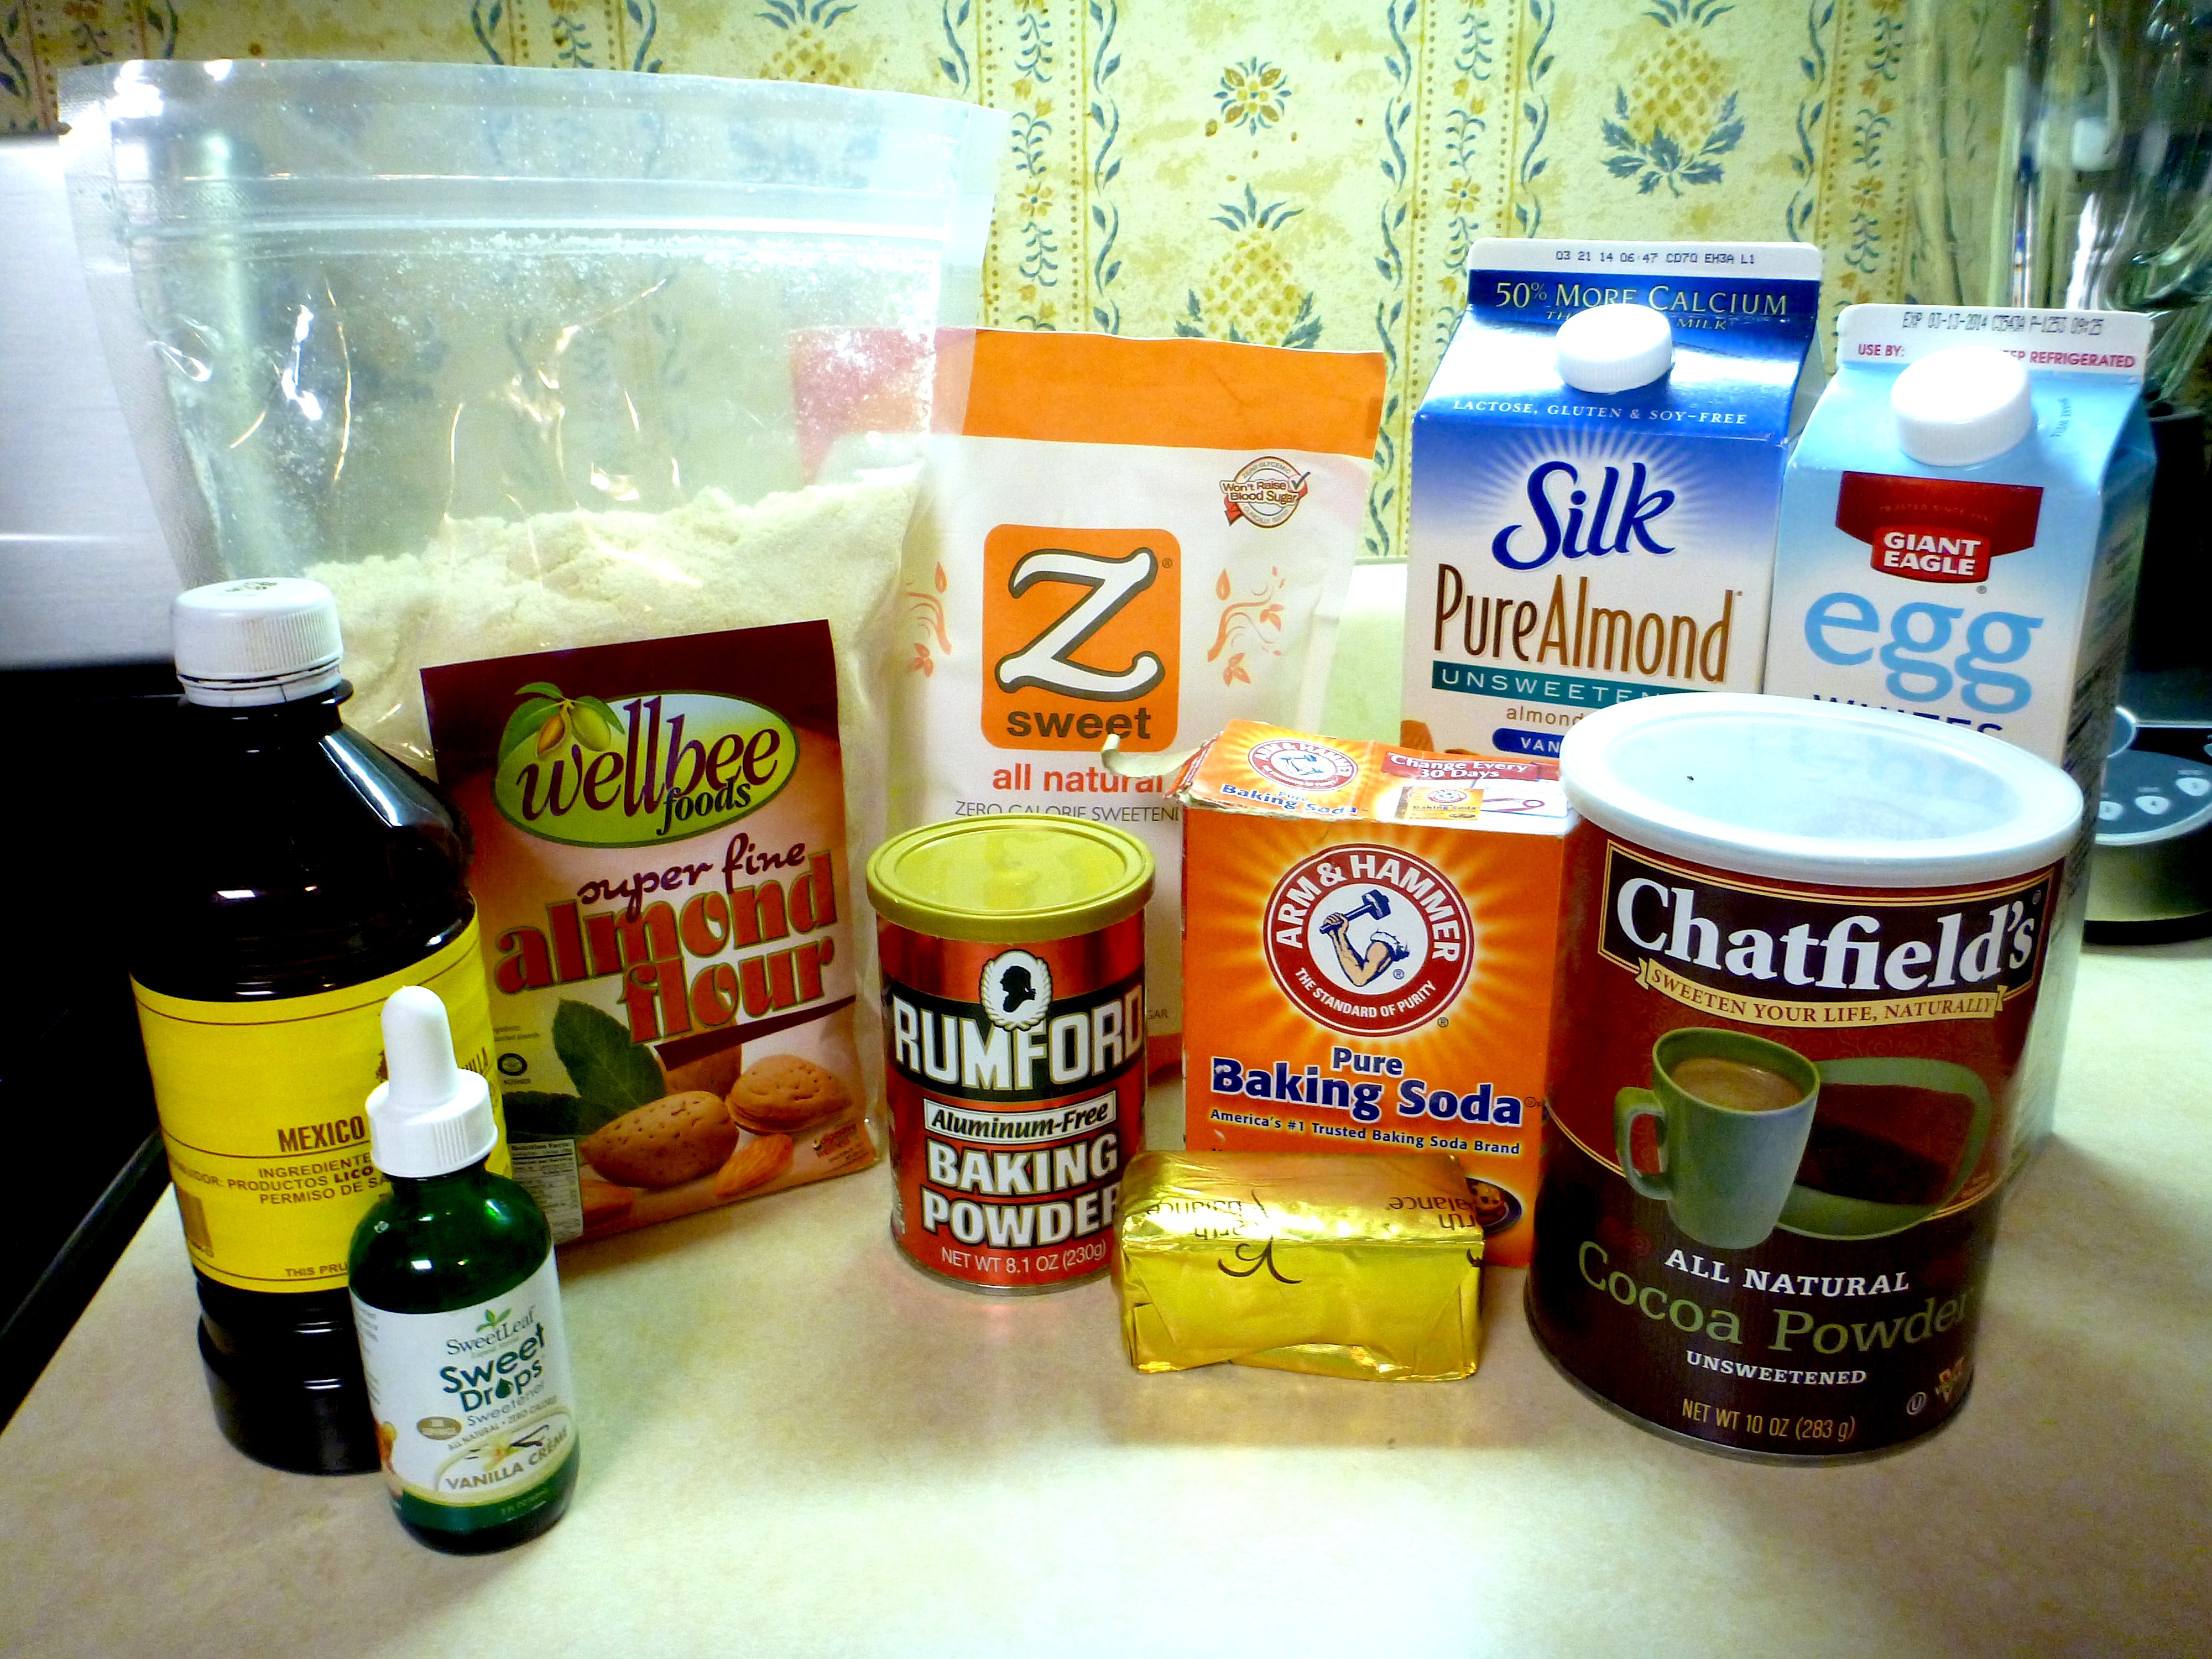
Ingredients:
2 cups almond flour
2 tsp pumpkin spice mix
1 tsp baking soda
1/4 tsp salt
1 cup natural almond butter (or any mild-flavored nut butter)
1/2 cup butter or coconut oil, softened (Earth Balance Buttery Sticks or Melt Organic Spread would also work for dairy free)
1 cup sweetener (I use Swerve)
4 large egg whites, or just under 3/4 cup
1/2 tsp vanilla extract
1 – 1 1/2 tsp butterscotch extract (I use Frontier)
1/2 tsp liquid stevia extract (I use Sweetleaf)
Optional:
1 tbsp sugar free brown sugar substitute (like this)
1 tsp maple or molasses flavoring OR 1 tbsp blackstrap molasses
Directions:
Preheat oven to 325°F and grease a 9×13 inch baking pan.
In a medium bowl, whisk together almond flour, pumpkin spice, baking soda and salt.
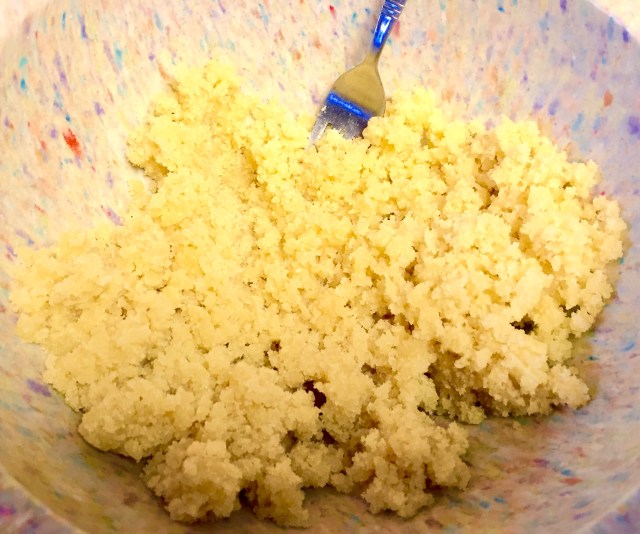
WASTE NOT.
Beat in egg whites, vanilla, butterscotch and stevia extracts until well combined.
Beat in almond flour mixture until fully incorporated; spread mixture in prepared baking pan and smooth the top with a knife or an offset spatula.
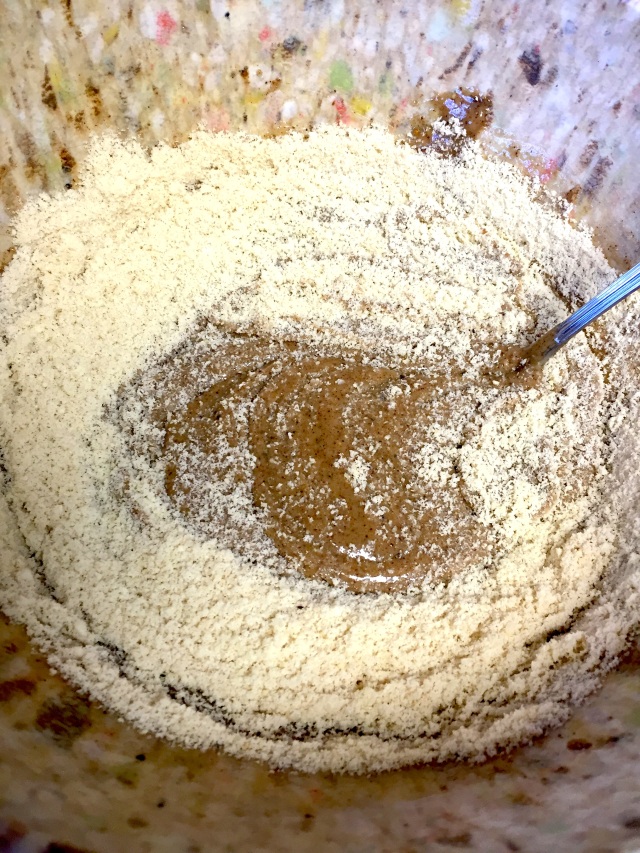
Stirring this counted as my entire year’s worth of arm reps.


Remove and let cool at least 30 minutes before cutting and serving.
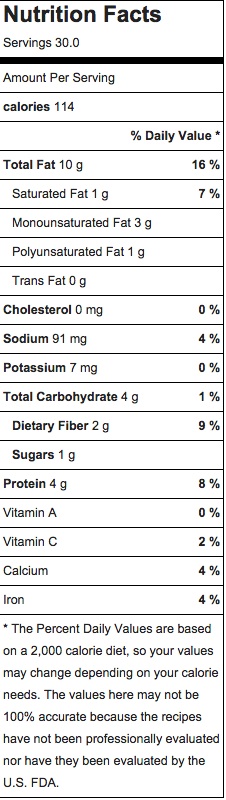
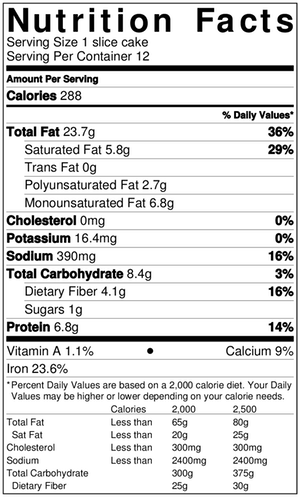
Nutritional Info:
Calculated with 1 tbsp brown sugar substitute, without molasses.


